


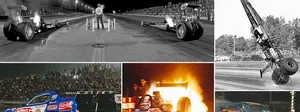
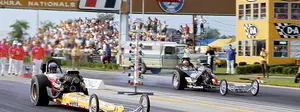
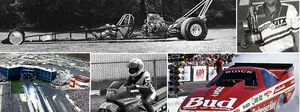
On a roll: A look at some all-time great NHRA Drag Racing success streaks
NHRA's Top 75 Moments: Bernstein, 'Big,' and Shirley reflect on making history
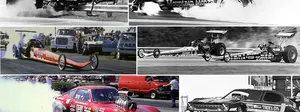
Funny Car set to turn 1,000: A look back at the milestone races along the way
Beyond the Top 75s ...

Wait ... Jim Head was in a 1960s surf band promoted by a drag racing legend? Yep.

-
More Martin memories
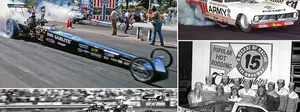
The Popular Hot Rodding Championships put U.S. 131 in the national spotlight
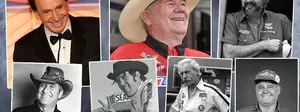
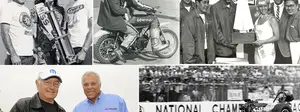
Friends we lost in 2025
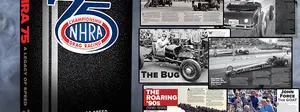
Re-telling NHRA history: The 75th anniversary book and other special projects
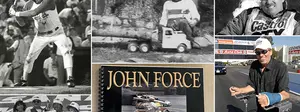
It was John Force's world, and we were all thrilled to be living in it
The Joyce of Drag Racing Photography
Two legends: 'Big' and Bakersfield
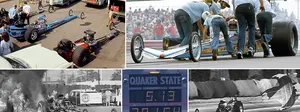
When did we start doing that? Tracking some of the biggest changes in our sport
From 10-time dominators to one-time winners, a history of Indy Top Fuel champs
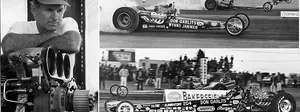
Legend to legend: Don Prudhomme on Don Garlits, Indy, and other great takes
-
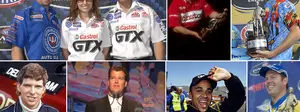
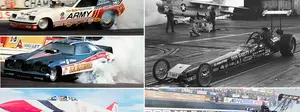
NHRA Rookies of the Year: A look back at where some fabulous careers began
NHRA national event history: A look at the tracks and stories that drove the sport
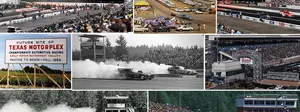
The Northwest Nationals has historically put the 'great' in Great Northwest

Larry Minor was a major player

How the early 1980s shaped NHRA's future
A Memorial Day salute to armed services sponsorships in NHRA history
Top Fuel A to Z: The quest to compile a list of every driver to compete in NHRA
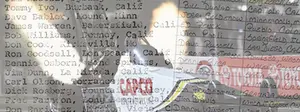
Top Fuel, A to Z: The complete list
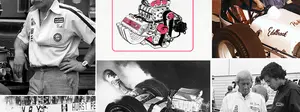
Thinking Pink: Remembering 'the Old Master,' nitro engine legend Ed Pink
Where's my three-second Funny Car field?
Top Fuel's 1,000th race: A look at the names and milestones that got us there
Remembering Bernie Fedderly

When the Hall calls

So long, 'Wild Bill'
John Force Racing: Next stop, 300 FC wins
Let's get small
Honestly, I don't know where and how some of you find the patience to craft incredible machines out of just about thin air, but follow-up to last Friday's report on the from-scratch efforts in plastic of British artist/modeler Mark Gredzinski unleashed a flurry of responses, photos, and links to your projects and those of others, and the work is simply breathtaking in design, scope, and execution.
As I've alluded, crafting miniature valves from tiny scrap pieces of plastic is not my thing, never has been and never will be. I prefer to do my creations in writing, and, in a weird sort of way, I can see the parallels. I take everyday items – 26 letters, 10 numerals, and a bunch of punctuation marks – and fuse them into my work of art. I can glue the letters together in any number of accepted combinations and orders to create words, which serve as my parts. I can heliarc those parts together using conjunctions (everyone sing … "hooking up words and phrases and clauses") and punctuation to create the frame upon which I build the body of my story. It's practically the same thing you are doing (minus the X-Acto scars, solder burns, metal cuts, and fine-motor skills). OK, so that's a bit of a stretch, but you get my drift, and you also get my overwhelming amazement at what a person can do with enough imagination, skill, parts, and time.
You have to see the bigger picture to appreciate it
|
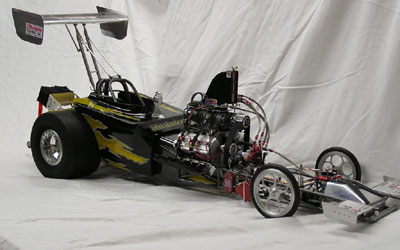
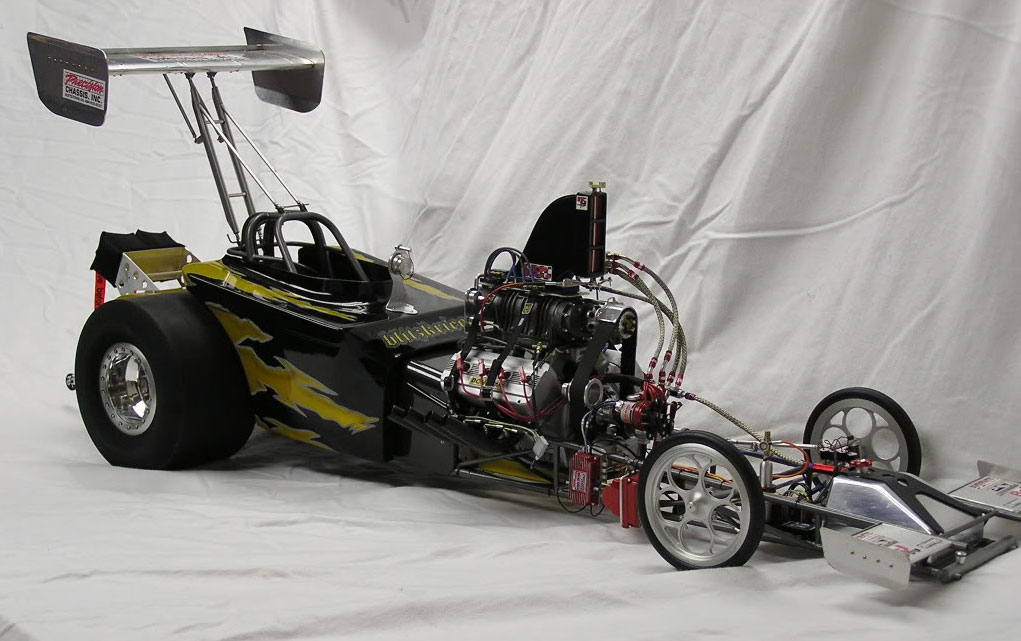
Like Gredzinski, reader Dave Sherman is solidly in the build-it-yourself category when it comes to drag models, with the notable exception being that Sherman's models are huge, 1/8-scale monsters, like this amazingly detailed fuel altered at right.
"These models contain virtually no model-kit parts," he stated. "I strive for the utmost in scale accuracy and detail. The parts are handmade or hand-machined in my garage. I have a small machine shop, but it is all hand screws, no CNC equipment. Each model can take as many as 2,000 man-hours to accomplish.
I had planned a more extensive look at Sherman's supersize machines, but work emergencies on his part kept us from doing so today; he has promised to update me in the near future. (Just as a caveat, I probably won't feature any more models beyond that; I don't want to turn this into a column on everyone's models, so hold those submissions.)
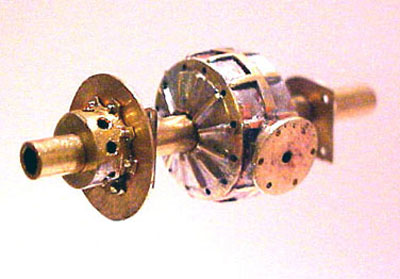
(Above) Roger Lee constructed a Halibrand center section from .016 brass sheet with a brass center tube for the axle. The center section is detailed right down to the rubbing. In all, 67 pieces of brass and 20 hours of construction went into the rear end alone. (Below) Detail on the supercharged engine is equally exquisite.
|
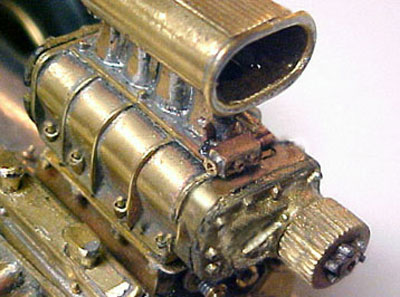 |
Working in plastic, as Gredzinski does, is one thing, but working with metal is another, and you won’t believe the level of detail that Roger "Riceman" Lee put into a one-of-a-kind brass 1/16th-scale model reproduction of Ron "Big Yohns" Johnson's Shubert/Herbert front-engine dragster.
The car is made up of 1,131 pieces, 94 percent of which are brass. The tires, for example, were fashioned from Black Delron and the seat-belt material from 3/16-inch-wide cloth ribbon (the seat-belt hardware was made from brass, and the shoulder adjusters actually work!). He used only a couple of pieces from actual model kits (seat and parachute). In all, the piece took approximately 920 hours of work spread over six months.A detailed write-up of the project is on Johnson's website here.
I can’t fathom the amount of time that went into the build, but here's an excerpt from Lee's commentary talking about a part of the car most will never see -- the two universal joints connecting the steering wheel to the steering box -- and the extreme length to which he went to make the car as authentic as possible.
"This used up some more brain cells. WARNING, do not try this at home! I first cut a slot 1/8-inch deep with a .005 razor saw into the end of a piece of 1/16 x .007 wall brass tubing. I then placed the tube on a flat surface and with an X-Acto knife, I worked it into the cut slot. Pressing down, I flattened one side, rotating the tube to the other side, I flattened that side, which created the two ears for the universal pivot shafts. I clamped the tube into my small vise, inserted a short length of .047 brass rod into the tube so the ears would not collapse and drilled into the center both ears a .021 hole. I then shaped the ears to the edge of the .047 rod and cut off the universal end .090 long from the ear slot. Four pieces were made. Four pieces of .047 x .007 wall x .090 long brass tubes were soldered into the ends of each universal. I found some .045-diameter black plastic-wire insulation and inserted it between the universal ears.
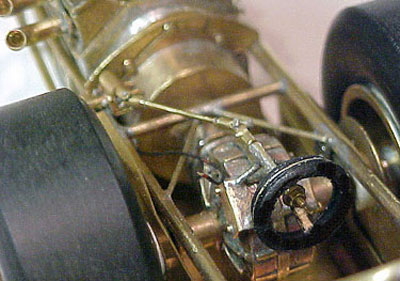 |
"Using the .021 drilled holes in the ears as a guide, I drilled through the plastic insulation, inserted a short length of .020 brass rod through the holes to secure the plastic tubing. I then cut the plastic tube off 1/32 longer than the ears and pressed another universal end into the slot and plastic tube. Again using the holes in the ears as a guide, I drilled through the plastic tube behind the first, inserted .020 brass rod, and inserted another short length of .020 brass rod. I cut off the excess lengths of the .020 brass rods, filed the ends flat, and touched the ends with my soldering iron, leaving a spot of solder on the ends so the .020 brass rods would not come out. I soldered in a 1/4-inch length of 1/32 brass rod into the end of the universal, which went into the steering box. The steering shaft mount on the rear axle housing was copied, and a short length of 1/32 brass rod with a 00-90 stud soldered to the end was inserted into it and pressed the other universal joint over the other end of it to check the length of the shaft. The length between the two universals was measured, a piece of 1/32 rod was cut to the needed length, and on each end, I soldered on the universal joints. I reinserted the shaft of the steering-box universal into the steering box, positioned the second universal in line with the steering rear end shaft mount tube, and pushed in the steering wheel shaft. A mocked-up steering wheel was made to check the positioning. The steering wheel is next to make. This was a real brain-burner, but the results were satisfying."
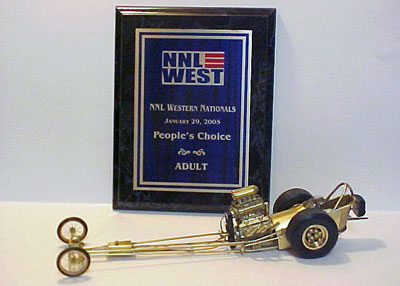 |
As Lee kept getting more and better photos of the car, adjustments were made to the body, roll-cage height, axle width, and other key items, and he made other corrections after seeing the actual reproduction of the car. All of the hard work has paid off with several People's Choice awards at huge modeling shows.
Reflected Lee, "In my 40 years of building car models, the Shubert & Herbert replica has been my best effort to date. Obtaining the research of this car was as much fun as building it. I had the honor to talk with Zane Shubert at the CHRR last year, and many emails [were exchanged] between 'Big Yohns' and myself. I wanted this car to be different and challenge myself to make a replica that hasn't been built yet in this style, all brass (94 percent), and of old-world style of preserving a piece of history."
You have to see it to believe it. Here's the link again. Lee also made a 1/22 re-creation of the famed Loukas-Pressing AA/Fuel Coupe, whose buildup you can find here.

I received a couple of suggestions to check out the site of Conley Precision Engines, which makes the Stinger 609 engine (6.09 cubic inches, or almost 100 cc). According to the website, the small-scale, fully opertional engine is the culmination of almost 30 years of knowledge gained in the designing and construction of model engines. The engine weighs about 11.25 pounds and measures approximately 14 inches long by 6 inches wide by 8 1/4 inches tall. A supercharged version is about 10 inches tall. The engine has a dry-sump pressurized oiling system (wiuth a user-replaceable oil filter) and a full ignition system. The engines start at about $5,700. Father's Day is coming up; point your loved ones to www.conleyprecision.com/ and hint hard and heavy.
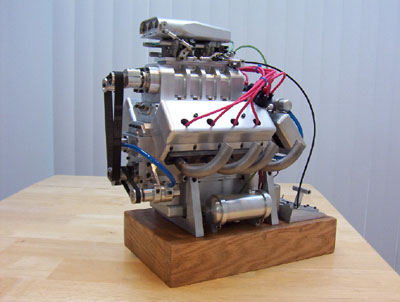 |
Weber Precision makes a similar product with a 5.65 displacement that weighs even more (25 pounds) because the engine block was machined from 6061 T6 aluminum. It's a one-third-scale engine of original design. "It is not based on any type of scaled-down full-size engine; no castings were used in this engine," the owner reported. "This engine was constructed based on ideas I thought would look neat and be fun to machine."
Four pages of very detailed photos show the engine's internals. It's wild to see the mini camshafts, pistons, supercharger rotors, valvetrain, and more. The work was done on a CNC machine, and you can’t help but be awed by what a determined person can do, but, as the website says, "Anything you can dream up can be built, with patience and a little time of course."
Just looking at the miniature camshaft and knowing that the lobes have to be accurate enough to make the motor run, let alone live, just makes my eyes want to blur. I can’t imagine the skill, knowledge, and patience something like this takes. I also was pointed to online video of Ron Bement, who has made small-scale running engines of Ardun and Offy design. You can Google him to find them.
The "infinite monkey theorem" states that given an infinite amount of time, a monkey hitting keys at random on a keyboard could type the complete works of William Shakespeare, but there's no way that an army of apes could ever build one of these, let alone tune it.
On a semi-related note, I was passed a link to the Quarter Mortar site, which builds and sells 1/4-scale radio-controlled drag racing cars as shown in the video above. The cars are constructed of sheet aluminum and precision-machined billet aluminum with interchangeable parts, thanks to its modular construction. Because weight is the enemy of acceleration, the cars weigh just 23 pounds.
The cars are available in either Top Fuel or Funny Car configuration, and you can buy them turnkey with a 29cc two-cycle engine that runs on a gas/oil mix or as a roller to add your own engine (see above!). Power is transmitted to the rear via a cog-style belt and gear setup. A two-shoe centrifugal clutch helps to keep the motor on power band and not lug the engine.
A 4-inch aluminum disc/copper pad braking system slows the car, and you can add an optional parachute. The Funny Car sells for $2,000 ready to run or $1,400 minus motor, clutch, and drive pinion gear with belt.
The dragster features a monocoque-style nose mated to a billet aluminum rear subplate that holds the rear axle bearing carriers and the motor mount and goes for $2,500. The car is equipped with a two-stage rear wing and a front wing and comes with the parachute as standard equipment.
Remember, Father's Day is Sunday, June 19. Tell your family.
Mickey Bryant, coauthor of Don Garlits, R.E.D., the story of the creation of Swamp Rat 14, had received from Garlits a CD of 201 photos of the chassis build of Tom McEwen's first rear-engine dragster in Garlits' Seffner, Fla., shop and offered to pass them along. Dave Stiller, part of the Mastercam nostalgia AA/FD team, also reached out to Gredzinski with info on Don Long chassis, and Mart Higgenbotham, former owner/driver of the Drag-On Vega Funny Car, sent detailed info to Gredzinski about Long's first Funny Cars; Higgenbotham's car is 002 in that line. Pete Everett had 001.
Remembered Higgenbotham, "At the Manufacturers Meet in November 1970, I had heard that Don Long was going to build Funny Cars. I knew about his dragster reputation and his amazing quality and innovations, so I went to his shop and met him and saw what he was doing. When Pete's car was finished two weeks before the '71 Winternationals, he took it to Lions to test it with Leroy Hales as the driver. On the first smoky burnout, he drove it into the right guardrail and crashed the front of the body and the front suspension. Everyone there said it was due to the design of the very light front suspension and blamed Long.
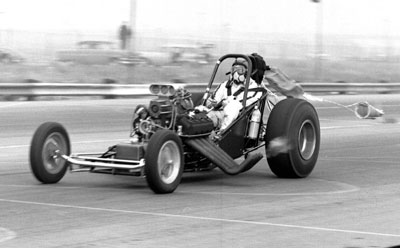
Steve Reyes photo
|
"I went back to Don's shop and told him what had happened and questioned him about my car. He responded that it was driver error and nothing was wrong with the design. He told me no changes would be made, and that that was the way it was. I asked him if I could test my car without the body, and he said that since I had paid him, I could do as I wanted but that he wasn't going to the test. He said the idiots criticizing him were wrong and didn't need to worry about anything going wrong. Don made me a parachute pack holder to bolt on the rear of the roll cage, and we went to Irwindale to test the car without the body. We told no one that we were going there. Everything went perfect. When I ran my car with the body on at the Winternationals, all went perfect."
OK, gang, enjoy your own perfect weekend. Be good to your mom, or someone else's mom.